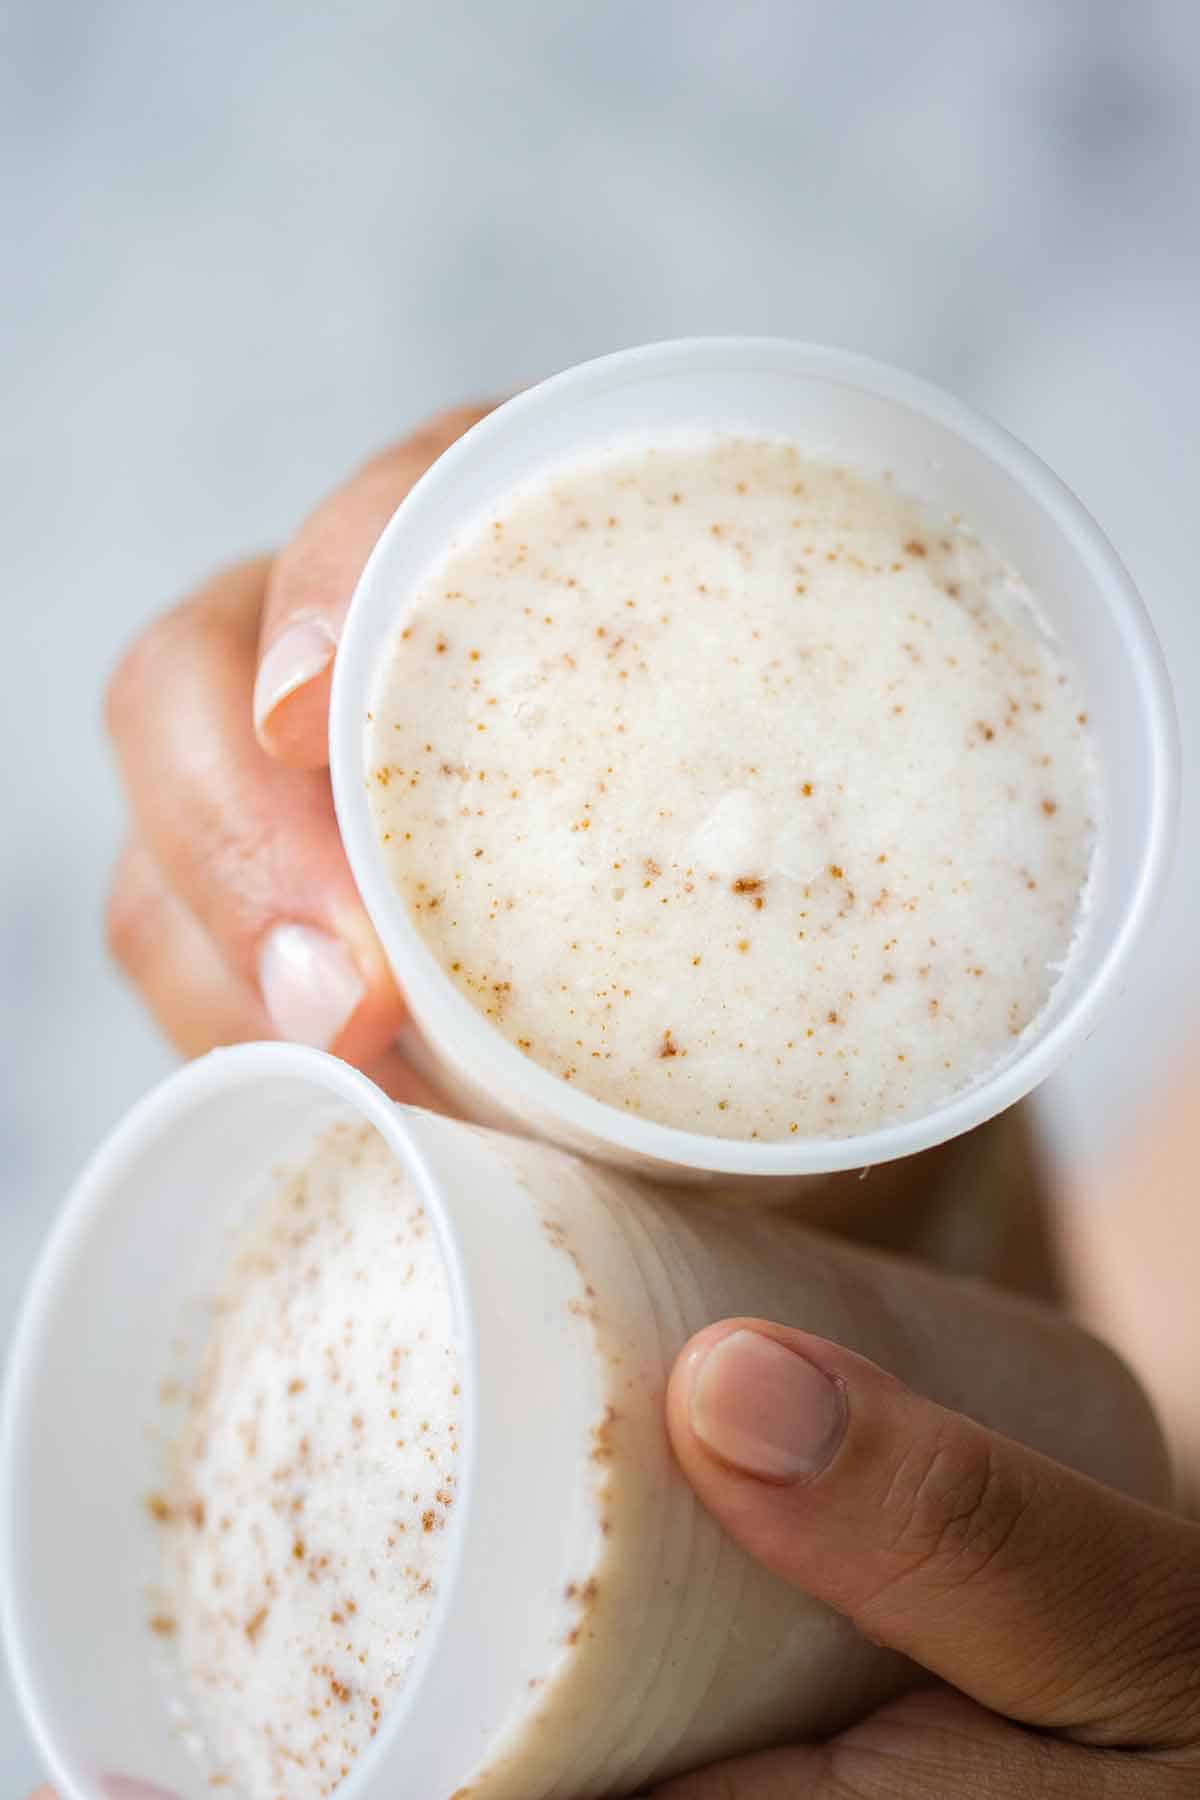
Limber de Coco is a delicious cold treat, so creamy that it tastes like coconut ice cream. It is perfect for getting refreshed on a really hot and sunny day.

Limber de Coco
A limber de coco is a Puerto Rican icy treat, similar to a popsicle but in a cup. It is a frozen delicacy in my opinion. No, they’re not served in any fancy restaurant. You will usually find it being sold by one or two people in the neighborhood. You’ll have to walk to the house and shout “¿Tienes limber?” Do you have any limber?
They usually sell tropical fruity kinds like coconut, passion fruit, tamarind, pineapple, and orange. But they also sell creamy flavors like mantecado ”ice cream”, crema “cream”, mani ”peanut butter” and even Oreo and Nutella limber. Nowadays they are so popular that they can even be found at gas stations but not as good as the neighborhood lady.
Coconut limbers are made with 4 main ingredients: coconut milk, coconut cream, sugar, and cinnamon. All of these ingredients are mixed, poured into disposable cups, and then frozen. Then what you get is a creamy, smooth frozen treat that cools you down almost instantly. A limber is considered more of a snack but it can be a cold dessert.
Some people wonder what is the history of the limber in Puerto Rico. Some say that the name Limber was given after a pilot’s last name after visiting the island. I don’t know if this is true. To my knowledge, the word limber came from the Spanish word lick “lamber”. Then that turned into the word limber.
Ingredients

- Water- I used plain water in this recipe. Some people like to use coconut water instead, but I have never tried it.
- Coconut milk- I use canned coconut milk. Usually by the brand of Goya or Thai Kitchen. You can use fresh coconut milk also.
- Cream of coconut- The best cream of coconut you can use is by the brand Coco Lopez. I always find its taste consistent and delicious. You can use any brand you like but the Coco Lopez truly helps to give it a deep coconut flavor.
- Sugar- I used white granulated sugar. I have also used brown sugar.
- Ground cinnamon- The cinnamon is essential to completing the flavor in a good limber. Don’t leave it out!
Substitutions & Additions
- Feel free to substitute the ingredients to fit your dietary needs. You can use different types of sugar. In my case, I have used brown sugar and it is just delicious. When substituting the sugar, you just have to make sure you add enough. This is so it won’t affect the final texture a good limber de coco should have.
- You can add many other fruits to this. Add strawberries, blueberries, or even pineapple. You can also add a small amount of alcohol to make these adult-only frozen treats. But don’t add too much because alcohol doesn’t freeze and it can change the texture of your limber de coco.
How To Make A Coconut Limber

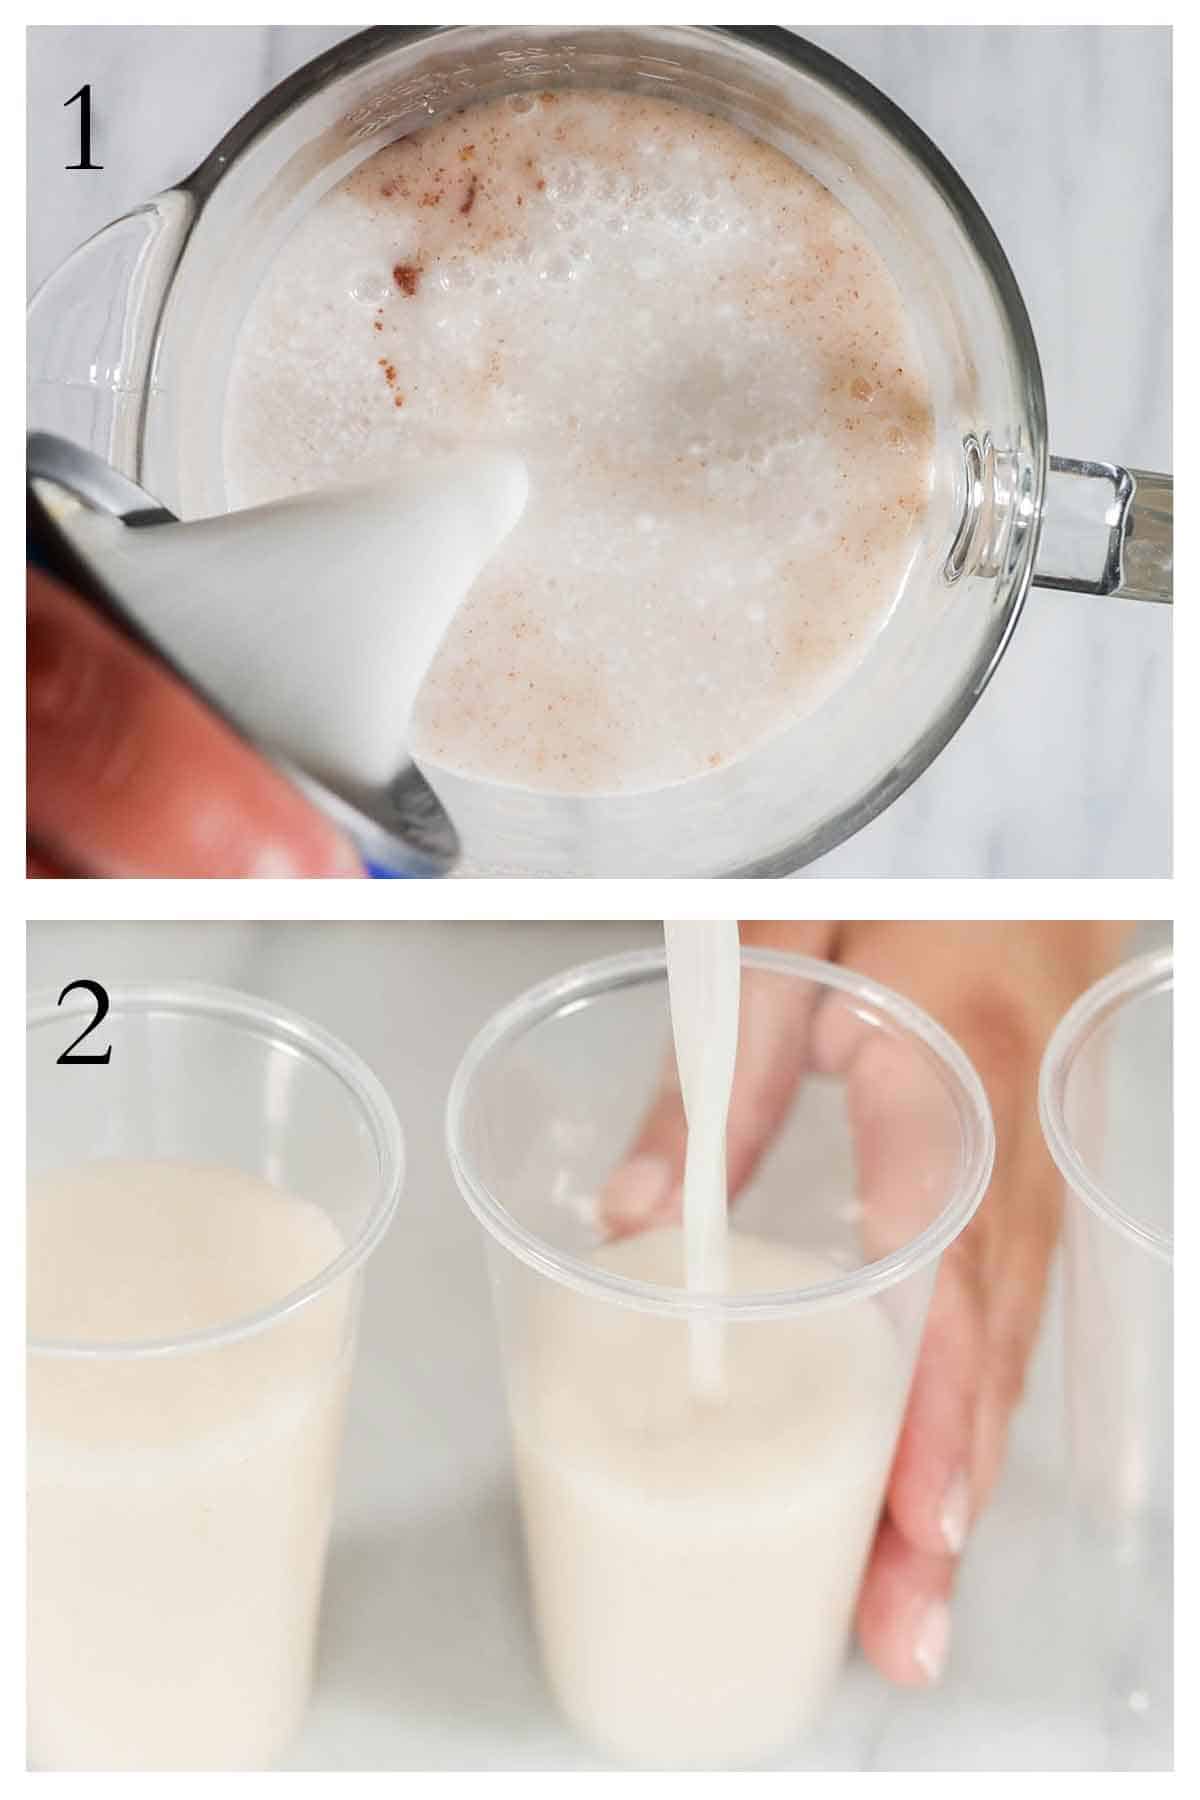
1. Pour everything into a blender and mix.
2. Pour equally into your disposable plastic cups. Freeze and enjoy.
Do’s and Don’ts of Making Limber
- Do use fresh or canned coconut milk. I am not going to lie, making limber from fresh coconuts is a lot of work. On the upside you have fresh milk and coconut pieces you can add to your mix. But to tell you the truth, you hardly notice the difference when using canned milk. Depending on where you are, it can even be cheaper to use canned milk.
- Do use a blender to mix everything. Besides being the quicker method to make, it is the one with the best results. If you mix everything by hand it can take a long time to mix all the coconut fat in. When using a blender, you make sure everything is well incorporated. The blender will guarantee no lumps of fat left.
- Don’t be afraid of the sugar in this recipe. The sugar is there to guarantee the right texture. What the sugar does in this recipe is that it makes it creamier. With the right amount of sugar, it makes the limber smooth, not icy. Trust me that a very icy limber is not good. This is because after you lick a couple of times all you’ll have is ice with no flavor.
- Don’t freeze your limber for a long time without covering it. To give you an example, all the people that sell limber have a freezer only for it. The reason for this is that they want to guarantee no other flavors get infused into the limber. It is best to cover the limbers, just in case they stay in there for a long time.

Frequently Asked Questions
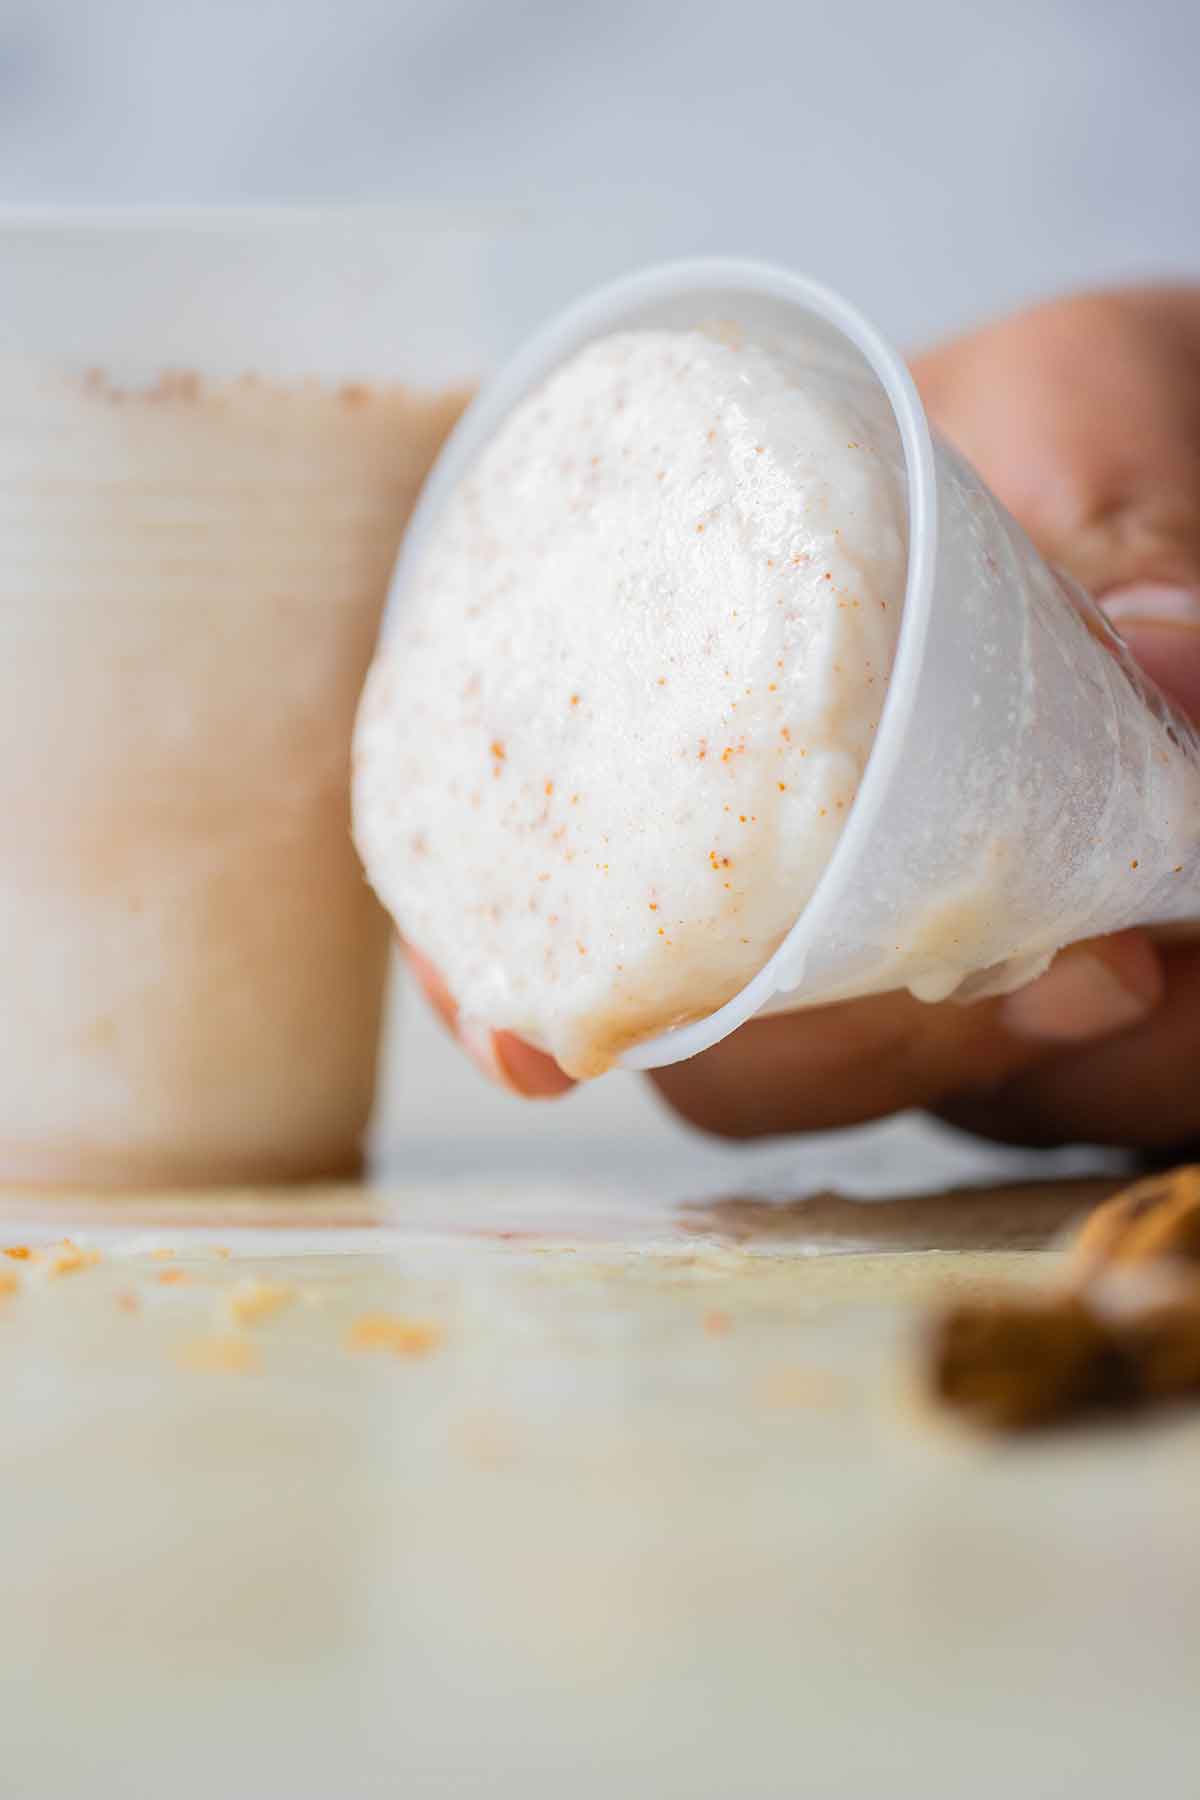
The best way to eat a limber is to take a couple of licks off the top part. Then warm the cup with your hands to try to release the limber from it. Gently push the limber up. Be careful because you can easily drop the limber at this stage. Flip it over and enjoy. Or you can do what my baby does and eat it patiently with a spoon.
The traditional way of making a limber is to put it into a disposable plastic cup. But limber can be made in all different types of molds. You can make limber popsicles. Either by just inserting a stick in the middle of the limber or by using a popsicle mold. Simply make your mix, pour, and freeze. You can even make limber into ice cubes or frozen bites. There’s a place in Puerto Rico that does this. They are named Cooltura. If you are on the island make sure to visit.
💬 If you enjoyed this Limber de Coco recipe, give it a 5-star rating and leave a comment, or question below. I read all the comments and appreciate all the feedback. Thank You!
If you rather watch how to make a recipe you can follow us on YouTube and our Facebook Page. Or keep up with us on Instagram and Pinterest.

Limber de Coco
Ingredients
- 1 ½ cups water
- 13.5 ounces coconut milk 1 can
- 15 ounces cream of coconut 1 can
- ¾ cup sugar
- ¼ teaspoon cinnamon
- grated coconut optional
Instructions
- Blend water, coconut milk, coconut cream, sugar and cinnamon together for about 1 minute.
- Mix with a spoon and pour into disposable cups equally. Top with grated coconut if you like.
- Freeze for 6 hours and enjoy.
Recipe Notes
Nutrition
Did you like this Recipe? Try these other coconut recipes!
Try a coconut sorbet or a deliciously authentic piña colada

Stephenie says
Hi Marguerite, happy to have you here trying the recipe. Let me know how it went.
Marguerite says
I came across this recipe today and just finished preparing it. And placed it in the freezer. Can’t wait until tomorrow to sample the results.
Thank you.
Stephenie says
Any better? Yesterday I made a batch to time exactly how long it will take me. By the 3rd hour they were set. Then after 4 hours and 45 minutes they were hard. Can I ask what brands are you using because thats the only thing I can image that is going wrong. Oh and I must add that I didn’t opened my freezer for at least 3 hours.
Diana says
Hi Stephenie . No luck there not fully frozen I’m going to try and make another batch and see what happens.
Stephenie says
Hi Diana, can you leave them a little longer and let me know how it went. Oh and yes, usually limber de coco takes longer than say cherry o parcha because is creamier. Thank you for trying the recipe. keep me updated on how it went.
Diana says
I followed this recipe and they feel as though they are not frozen all of the way it’s been over 6 hours since they were placed in freezer. I also made Cherry and had no issues.