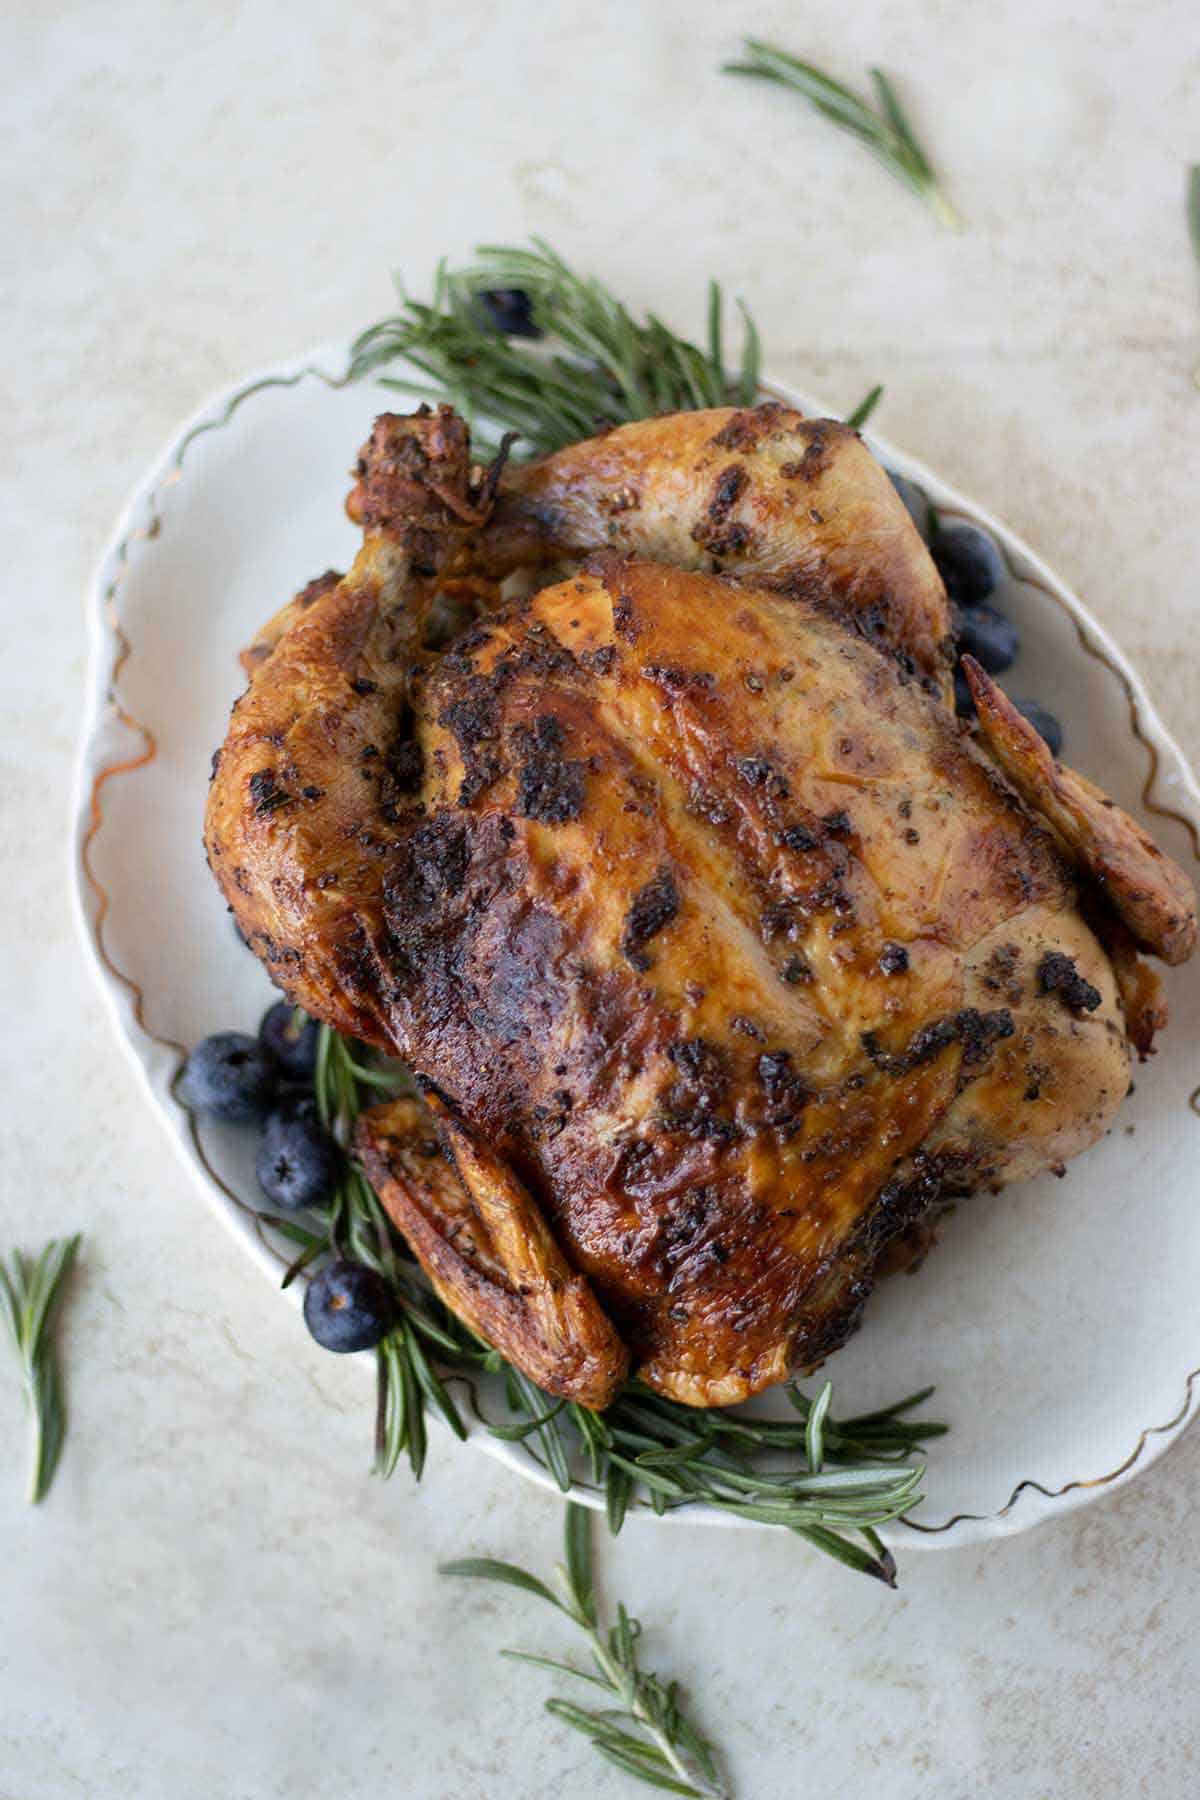
Do you like roasted chicken from the supermarket? Then you’ll love this Pollo Al Horno! It is flavorful, super moist meat and a delicious crispy skin.
What is Pollo al Horno?
Pollo Al Horno is Spanish for oven chicken. It is so good you’ll want to make it every day! It is the perfect easy family meal to make for any weeknight meal. But it is also great for gatherings.
On days when I’m busy, I like to serve it with a simple ensalada and creamy cilantro sauce to drizzle over.
But when I have time I like to make my Puerto Rican rice with corn and make a refreshing mint lemonade.
Jump to:
Why This Recipe Works
- Flavorful- This is a recipe that is not bland! It has a mix of seasonings that gives the skin a delicious flavor. But I also put lemon and thyme in the chicken. So you get the flavor from the inside out!
- Moist- We take a stick of butter and put it under the skin. While it gives flavor, most importantly it helps to keep the meat moist. No more dry meat here!
- Crispy skin- We cook the chicken at a high temperature which makes a very crispy skin.
- Leftovers- It’s great to repurpose the leftover chicken and make a different recipe.
Recipe Ingredients

- Whole Chicken- Here I used a 5-pound chicken. Where I live, I have never been able to find small ones.
- Garlic & Butter- For this recipe, fresh garlic works best. I used 2 ½ teaspoons that I mixed with butter to put it under the skin. This will add taste and keep the meat moist.
- Seasonings- The seasonings used are salt, black pepper, onion powder, and ground thyme. You can add cayenne pepper or red chili flakes if you want to add some spice.
- Fresh lemon & rosemary- I used half of a lemon and 2 sprigs of rosemary to put inside the chicken for more flavor
- Oil- I use 1 tablespoon of vegetable oil to mix all the seasonings and better spread them on the chicken.
- Oregano- I used ½ tablespoon of dried oregano to add a delicious taste to the chicken.
How To Make Pollo Al Horno
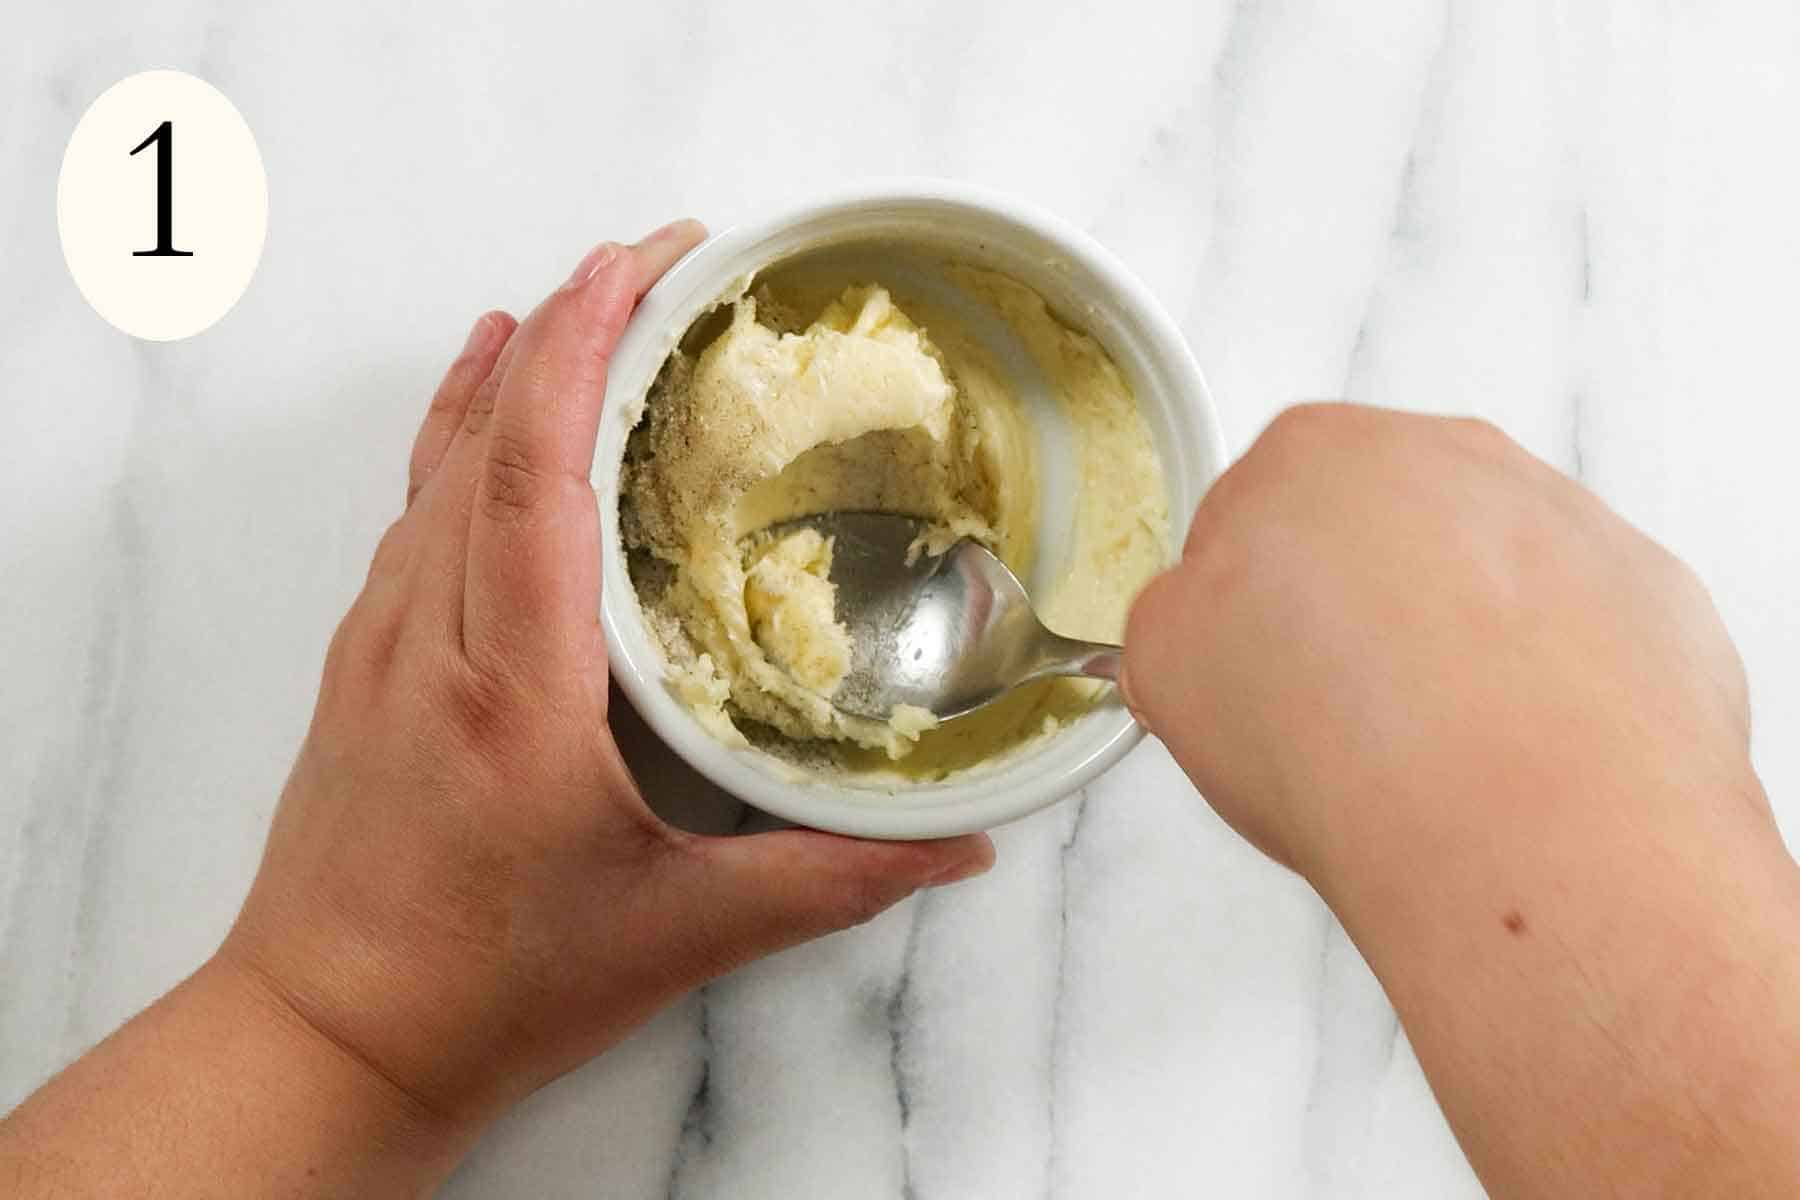
Photo 1: Mix the salt, pepper, onion powder and thyme. Then mix the butter, and garlic and add 1 tablespoon of the seasonings.
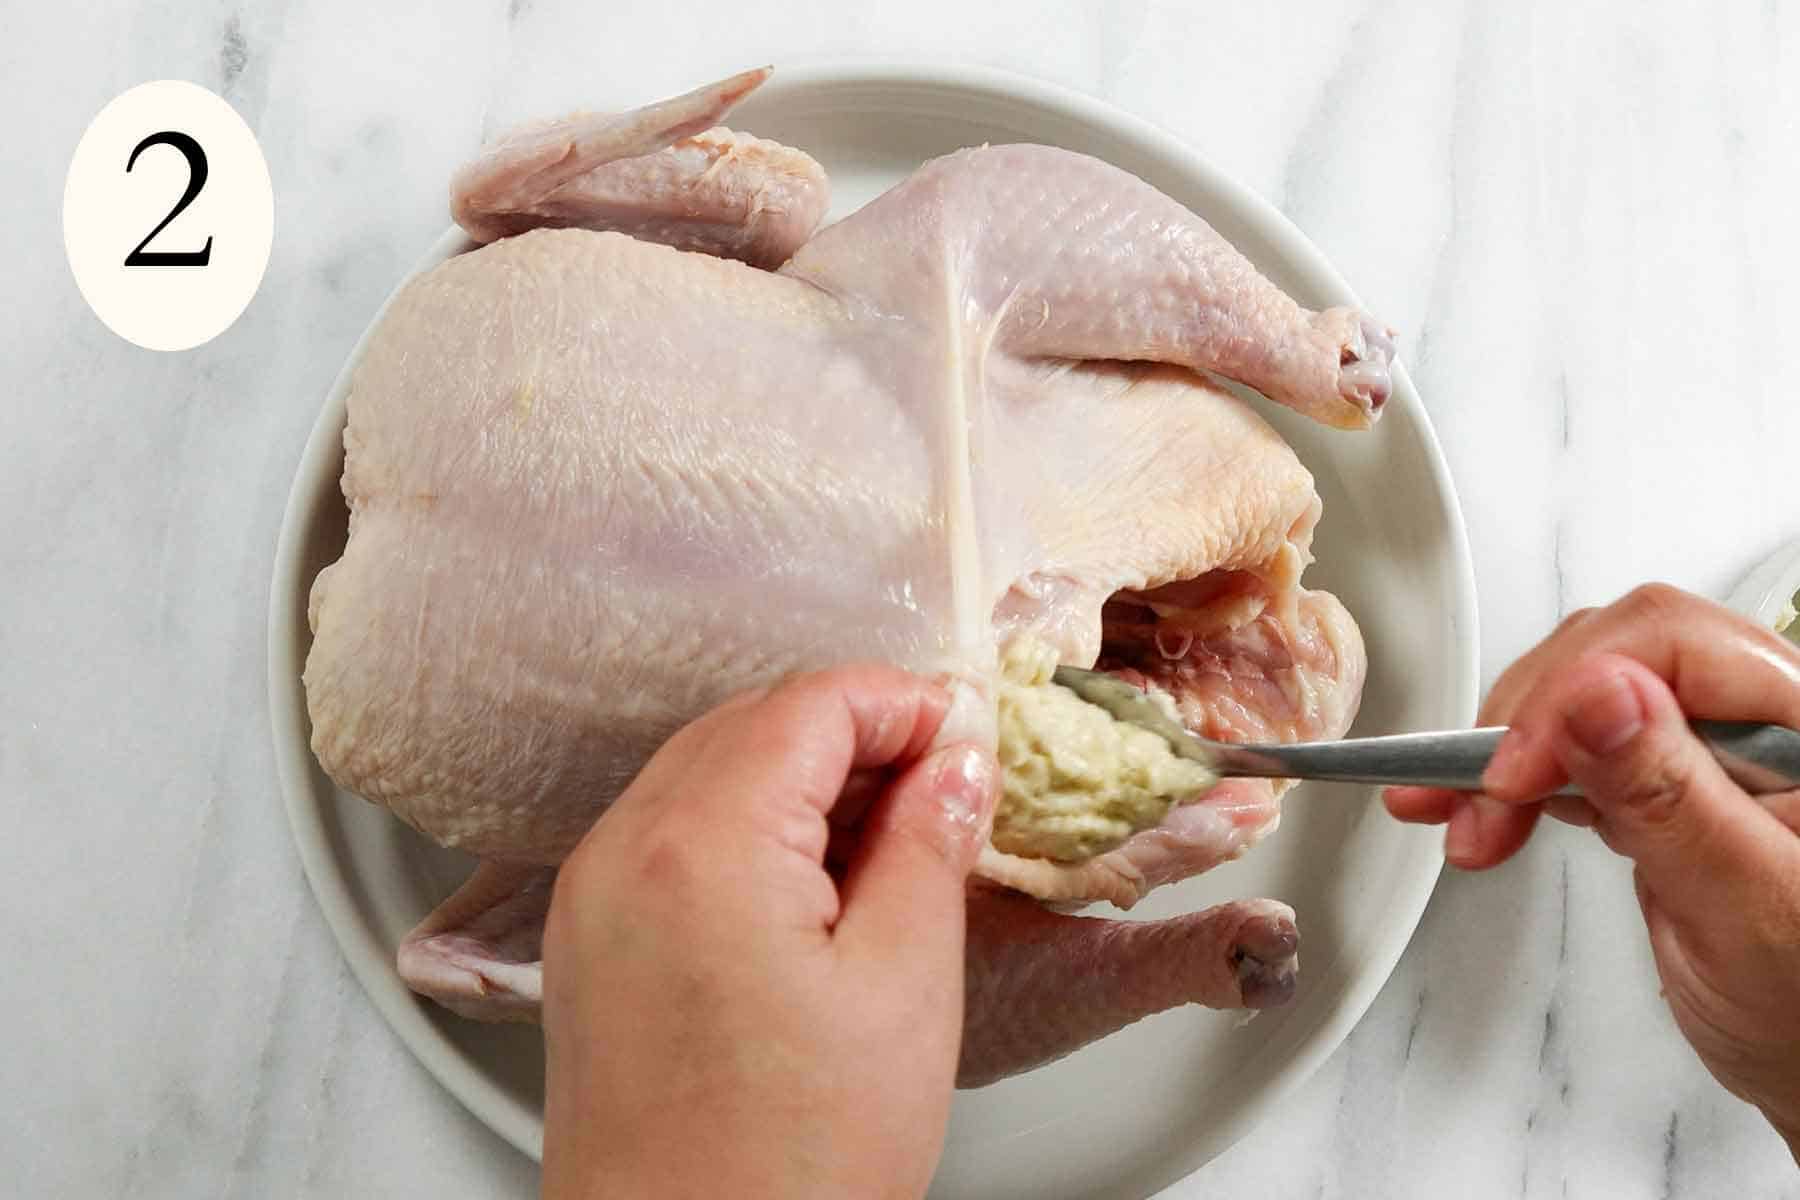
Photo 2: Lift the skin of the chicken on both sides. Put all the butter under the skin. Be careful not to break the skin.
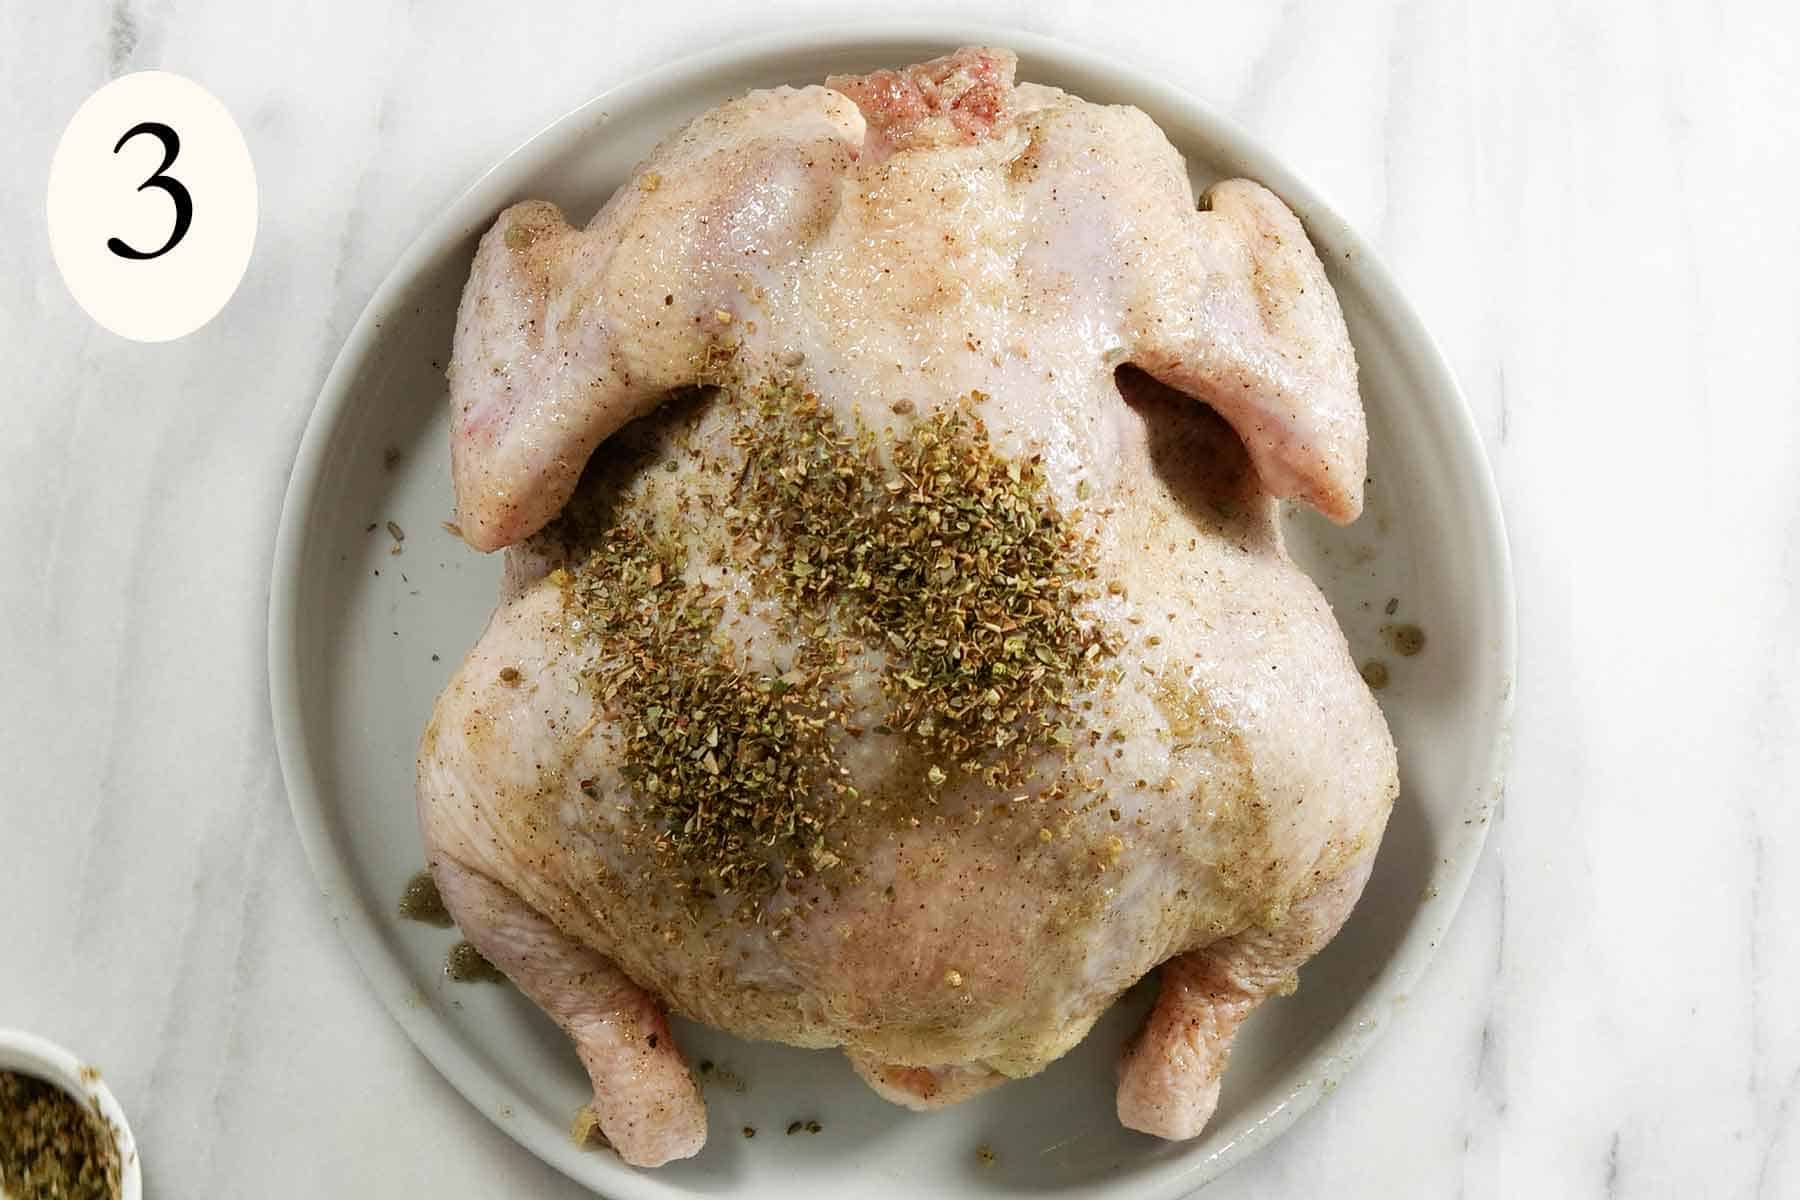
Photo 3: Add the oil to the rest of your seasoning. Spread one teaspoon of seasoning inside the chicken. Rub the rest on the whole chicken. Rub the oregano all over. Put the rosemary and lemon inside the chicken and tie the legs together with a piece of string.
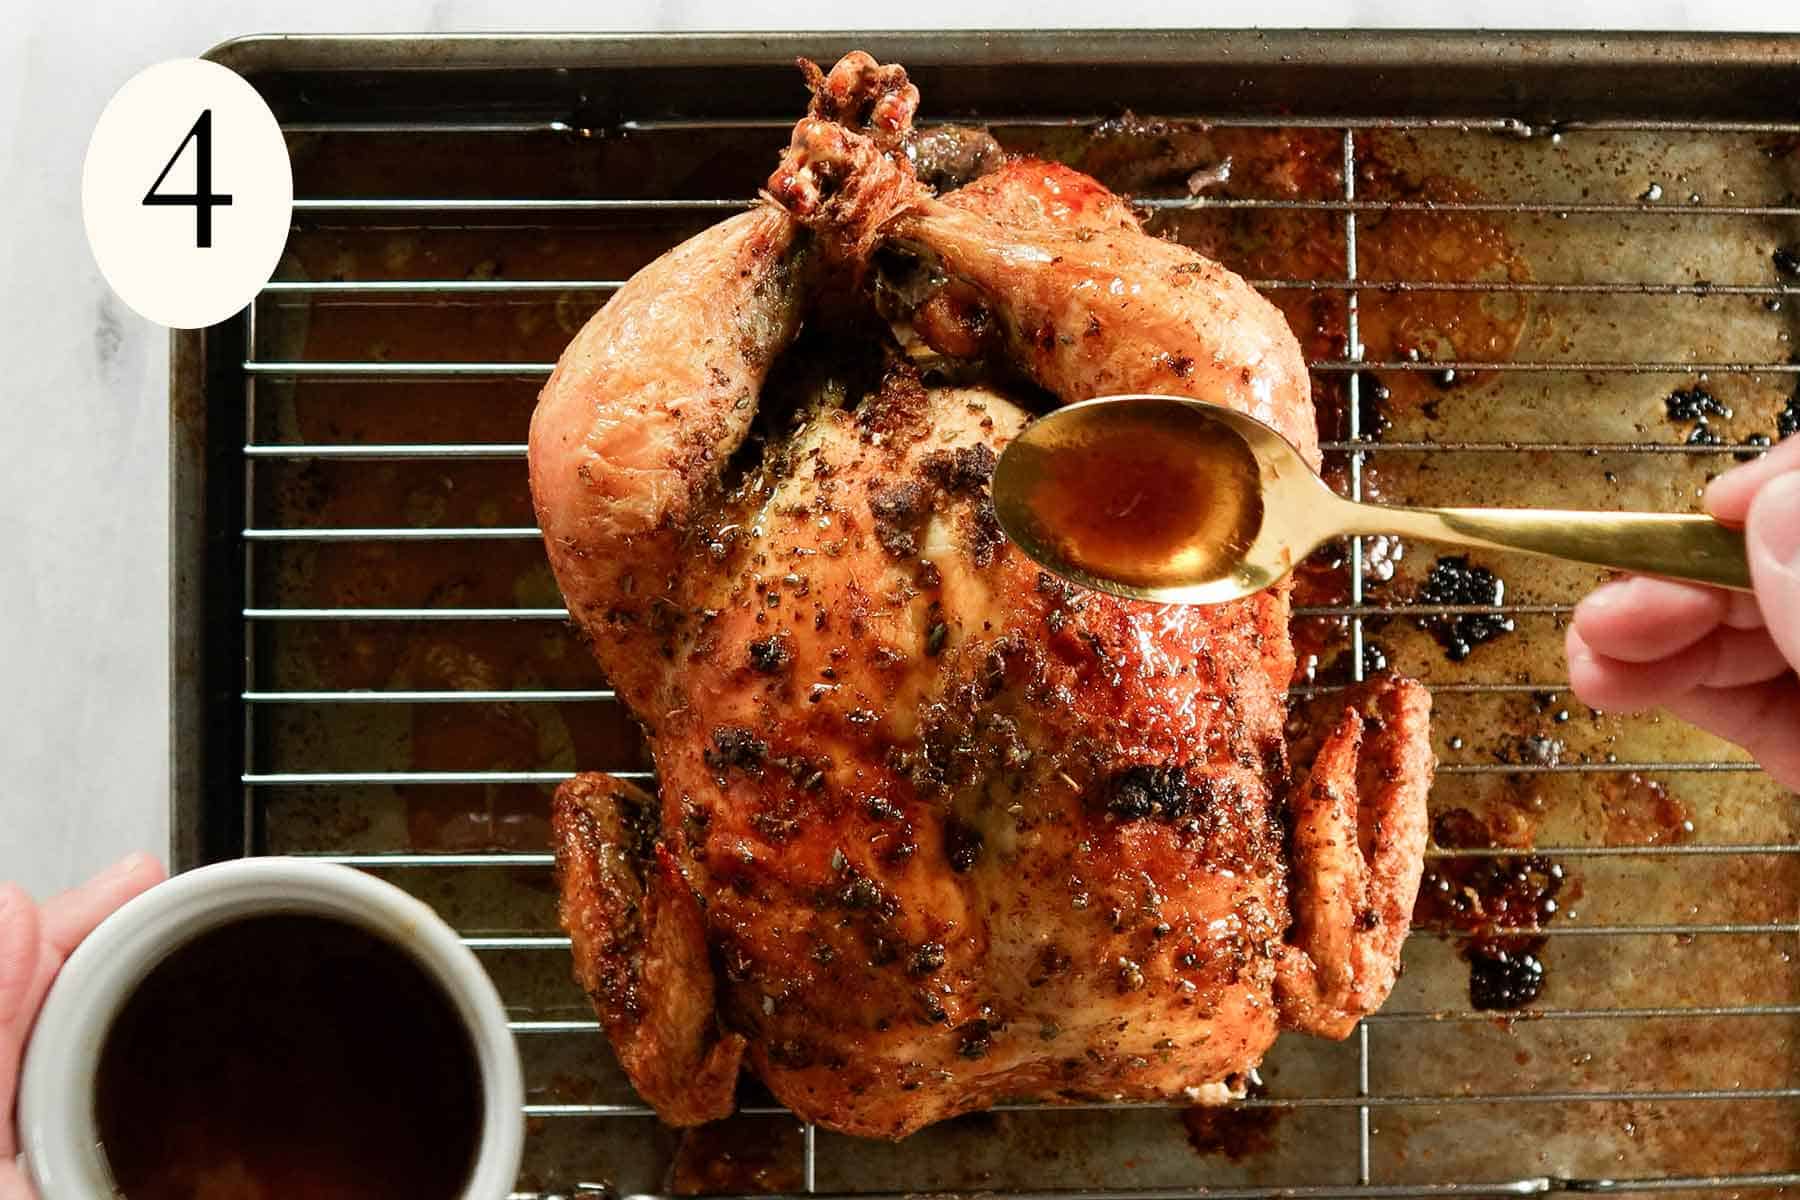
Photo 4: Place your chicken on a rack on a baking tray. Put your chicken to cook over 400°F for 1 hour and 45 minutes. After the first 40 minutes, baste the chicken. Rotate your pan so a different side is facing the back of the oven for an even color.
Expert Tips
- Add some vegetables at the bottom of the pan so they can cook in the flavorful juices of the chicken.
- You can save the drippings to make gravy or as the stock to make rice.
- Re-use the leftovers by making empanada dough or Puerto Rican soft bread and stuffing them with shredded chicken.
What to serve with?
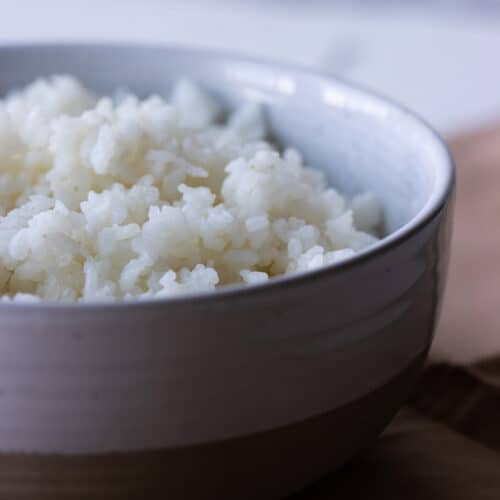
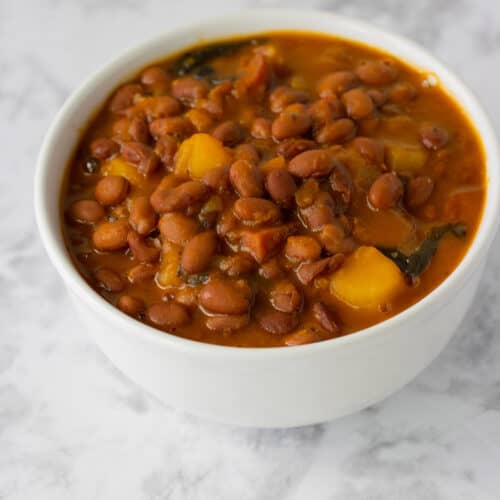
You can serve it with a simple classic like french fries and ketchup or a mayo & ketchup sauce. But sometimes a good mashed potato and a potato roll is all that you need. If you want a simple meal serve I suggest a Puerto Rican arroz blanco and stewed beans.
Recipe FAQs
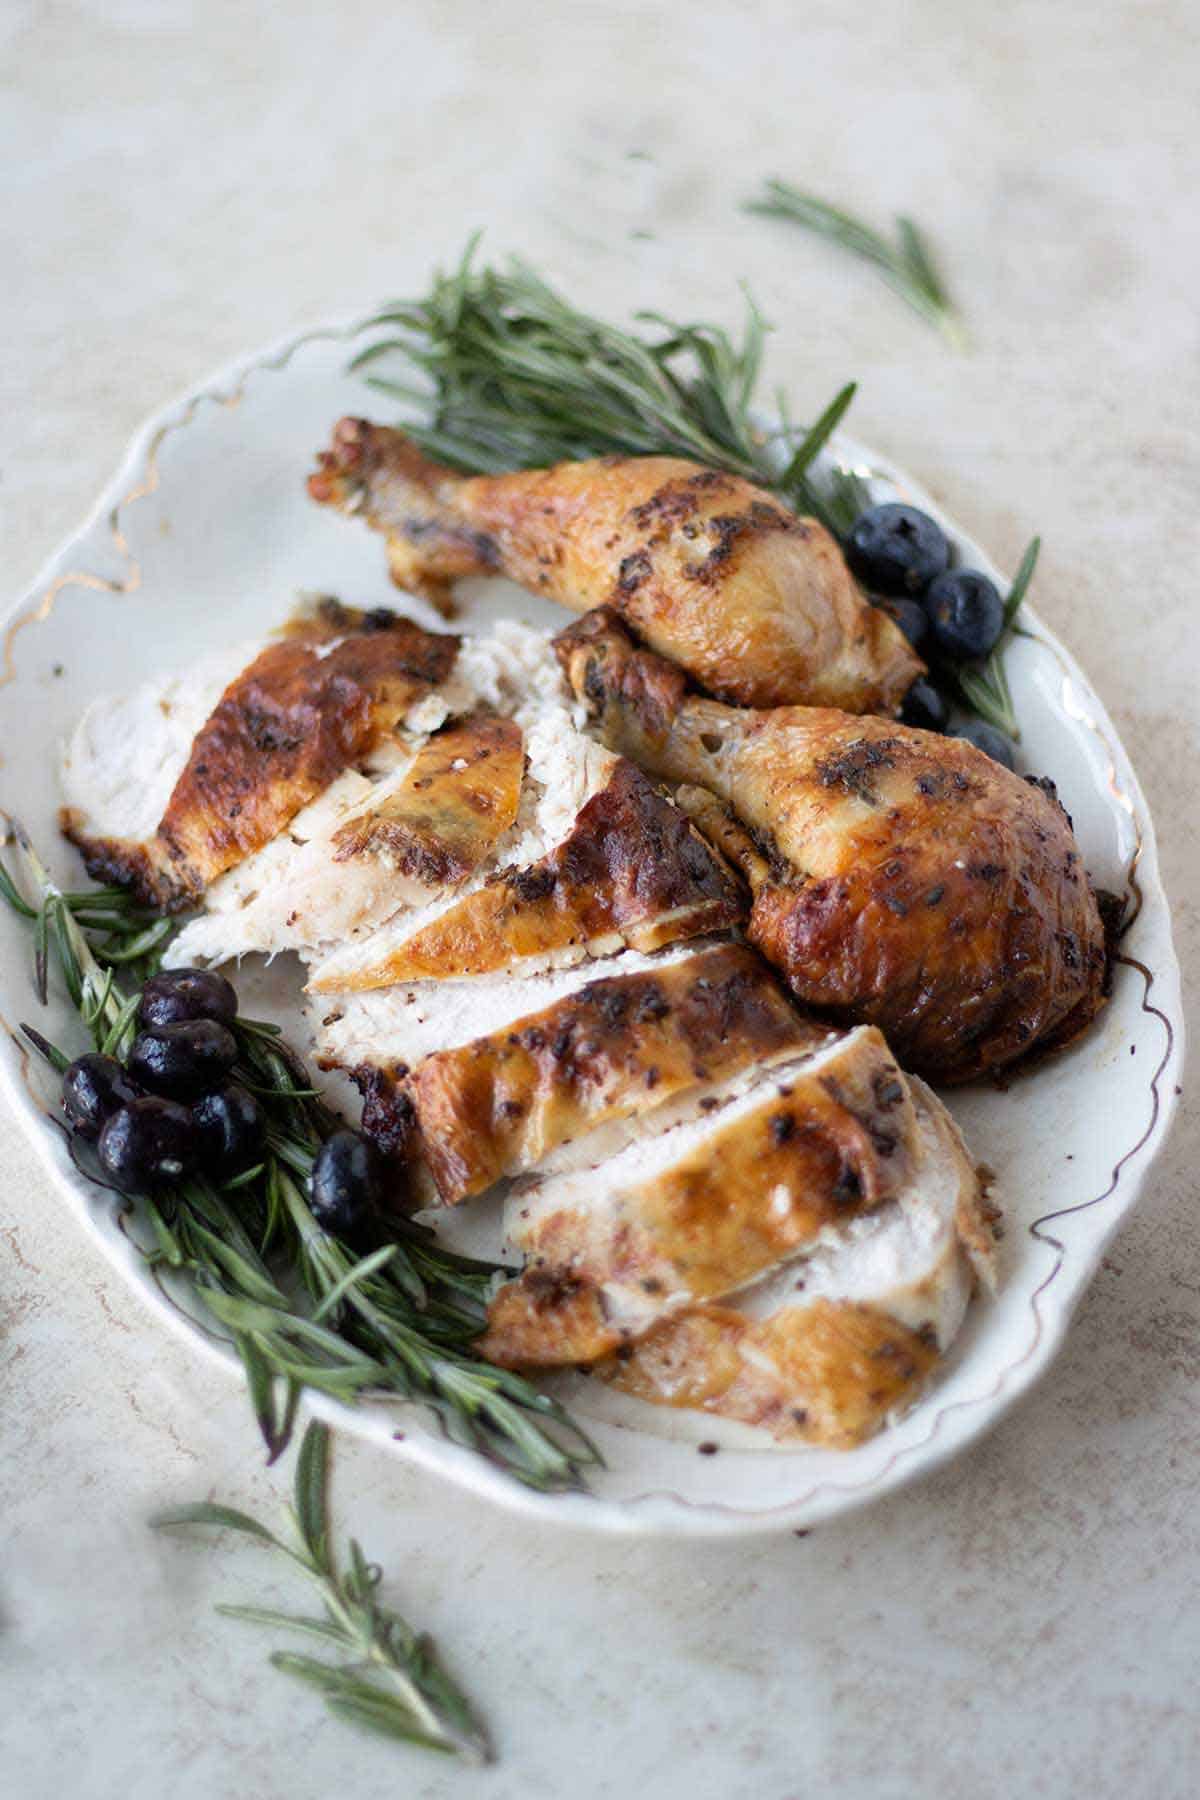
You will need about 20-22 minutes for each pound of chicken When cooking at a temperature of 400°F. For a 5-pound chicken, I usually cook it for about 1 hour and 45 minutes for a nice crispy skin.
You don’t have to use a rack when roasting a chicken. But I always like to use one so the bottom of my chicken is not soggy and greasy. If you don’t have a rack, you can put the chicken on top of vegetables like carrots or potatoes. The vegetables will absorb the drippings and will be delicious.
Not at all, The high heat helps the skin get a nice color and get it crispy. It makes the meat cook fast, avoiding releasing too much moisture.
The first step to store a roasted chicken is to let it completely cool. To store the whole chicken in the fridge, transfer it to an airtight container and store it for no more than 4 days. Keep in the freezer for no more than 4 months.
More Tasty Recipes To Make With Chicken
💬 Did you make this Pollo al Horno recipe? Please leave a star rating, comment, or question below. I read all the comments and appreciate all the feedback. Thank You!
If you rather watch how to make a recipe you can follow us on Youtube. Or keep up with us on Instagram and Pinterest.
Pollo al Horno (Roasted Chicken)
Ingredients
- 5 pounds whole chicken
- 4 tablespoons butter
- 2 ½ teaspoons garlic paste about 4 garlic cloves
- 2 tablespoons salt
- ¼ teaspoon black pepper
- 1 teaspoon onion powder
- ¼ teaspoon ground thyme
- ½ lemon
- 2 sprigs rosemary
- ½ tablespoon dried oregano
- 1 tablespoon oil
Instructions
- Pre heat oven to 400°F.
- Mix the salt, black pepper, onion powder, and ground thyme. Set aside. Mix butter with the garlic and one teaspoon of the seasonings.
- First, remove the giblets that come inside the chicken. Carefully lift the skin of the chicken. You can do this with your hands or with a butter knife. Take the butter and put it under the chicken skin. Do this on both sides of the chicken.
- Add the oil to the rest of your seasonings and mix. Rub one teaspoon of the mix inside the chicken. Take the rest and rub it all over your chicken. Rub the oregano on the whole chicken.
- Put the rosemary and lemon inside the chicken. Take a piece of cooking twine and tie the legs together.
- Take your chicken and put it on a baking pan with a rack. Place your chicken in the bottom rack of the oven for 1 hour and 45 minutes.
- After 40 minutes, baste your chicken. Rotate your pan so your chicken can get an even color.
- After the chicken is done, let it rest for about 10 minutes. Serve and enjoy.
Recipe Notes
- I usually cook the chicken for 20-22 minutes for each pound. If your chicken is bigger, just add more time accordingly.
- If your chicken skin is already brown and you want to avoid burning it use foil. Loosely place a piece of aluminum foil over it. Remove it in the last 10 minutes of cooking so your skin can crisp.

Leave a Comment